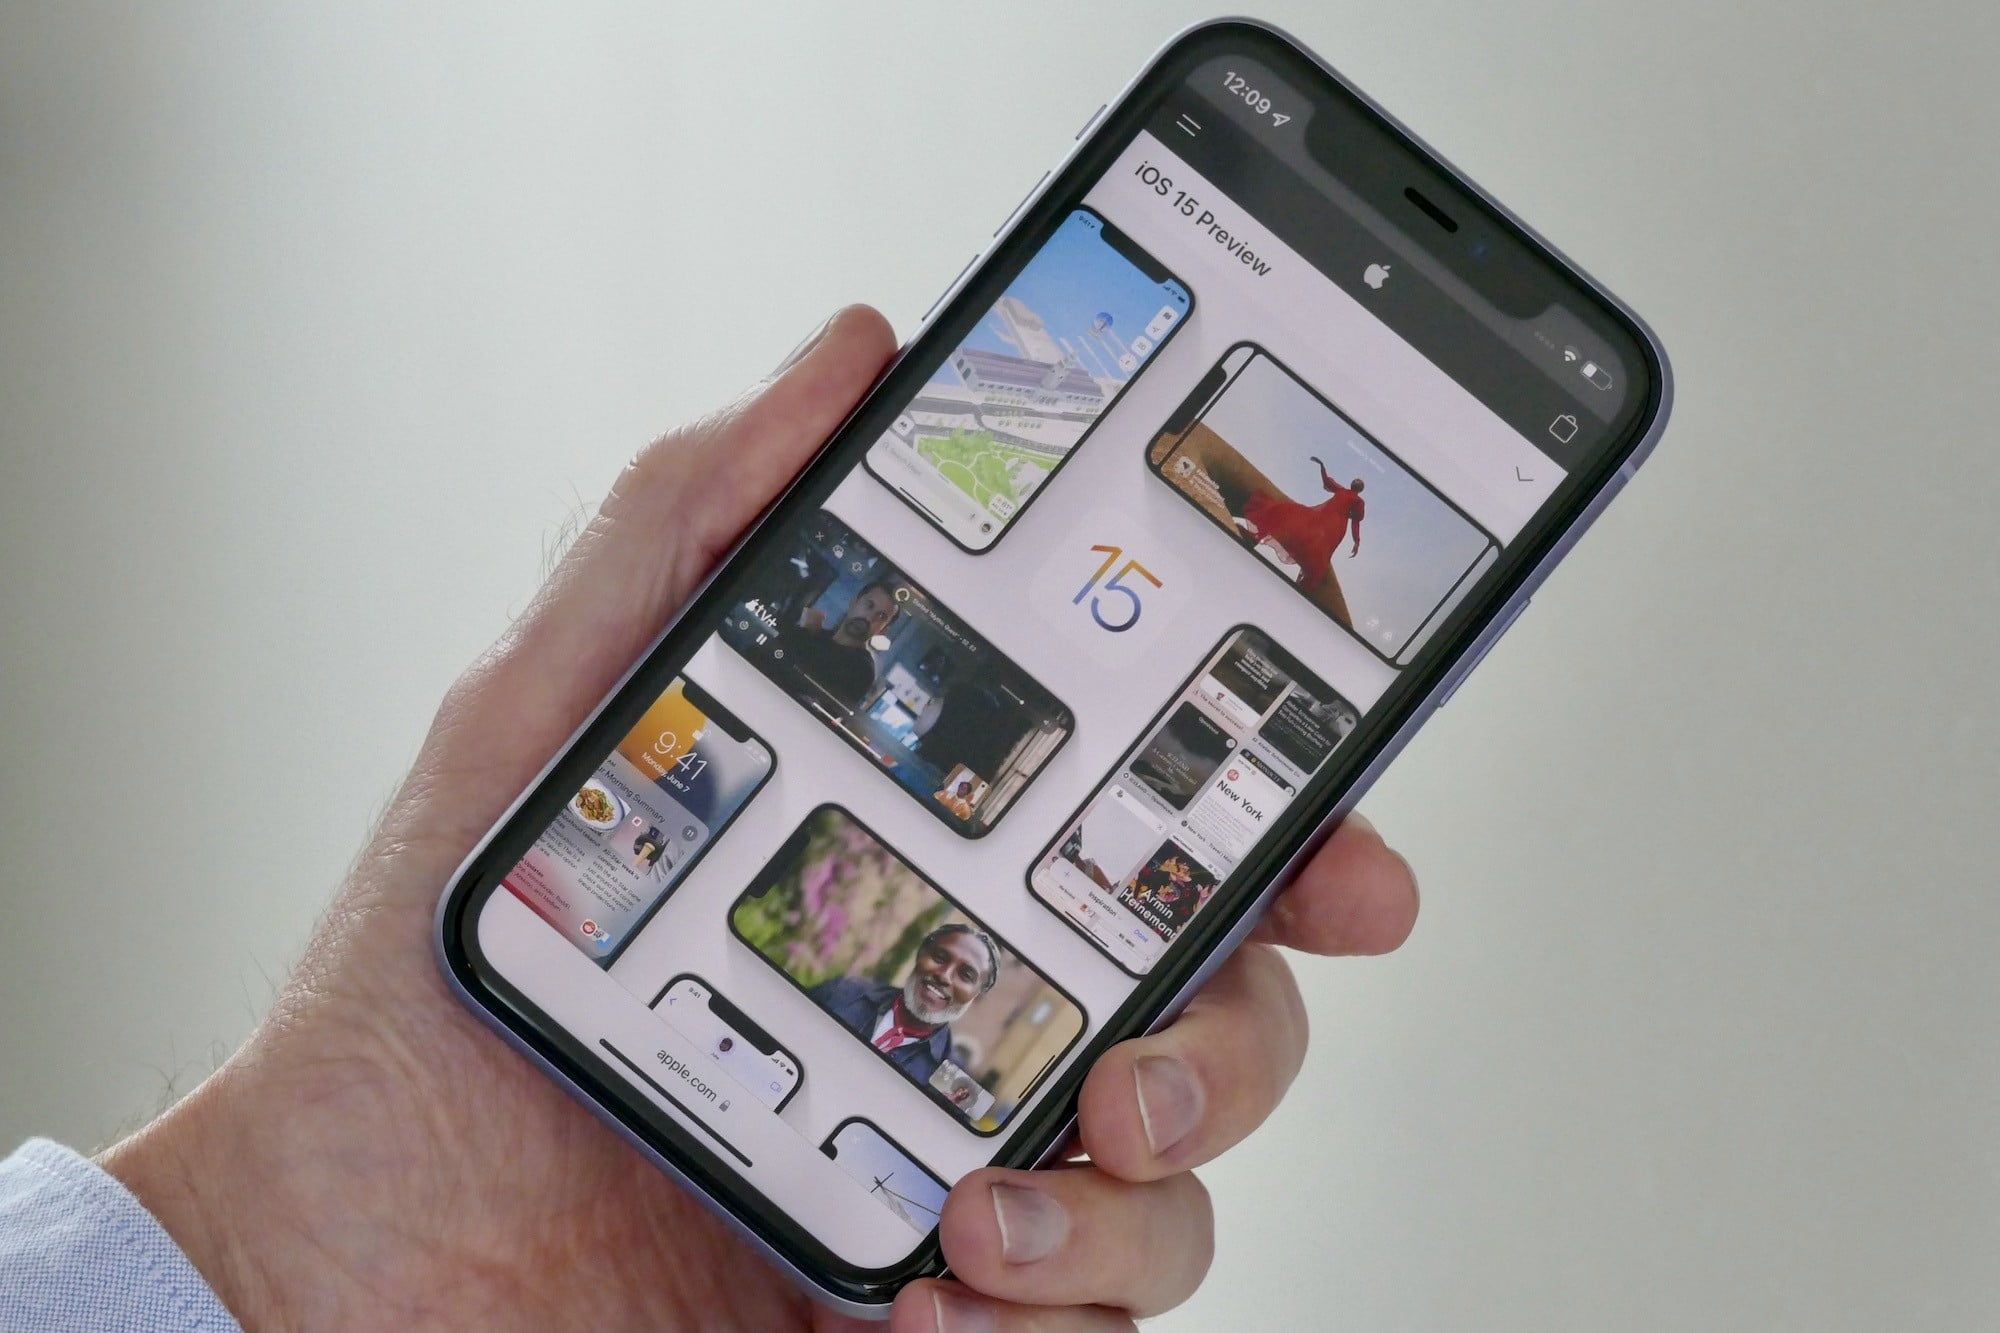
There is a moment almost every iPhone 15 owner knows well. You are looking at something on your screen — a boarding pass, a funny message, a price that might change, or directions you will need when you lose signal — and you want to keep it. You reach for your phone, press two buttons, and hope you got the timing right.
Sometimes it works on the first try. Sometimes the screen locks instead, or the volume jumps up, or nothing happens at all. The difference between those outcomes is usually a fraction of a second, and it is the part of the screenshot that nobody explains properly.
This guide focuses on that moment: the button method. You will learn exactly where your fingers go, how quickly to press and release, what the flash and the thumbnail mean, and where your screenshot goes after you take it. By the end, the two-button press will feel as natural as unlocking your phone.
We will also cover two useful backups for days when the buttons are awkward to reach: Back Tap and AssistiveTouch. These are built into your iPhone 15 already, and they cost nothing to set up. They are worth knowing even if you use the buttons ninety-nine times out of a hundred.
Nothing here needs an extra app. Every method in this guide uses tools Apple already put on your phone. Work through the button method first, because it is the fastest, and then set up one backup method so you always have another way.
Before You Start: Know Your Two Buttons
Your iPhone 15 has no Home button, so the screenshot shortcut uses the two buttons on the sides of the phone. On the right edge, about halfway down, sits the side button. This is the same button you press to wake the screen and to lock it.
On the left edge, near the top, are the two volume buttons. The upper one is volume up, and the lower one is volume down. For a screenshot, you only need the upper one. Pressing volume down by mistake is the most common reason a screenshot fails, so take a second to feel which button is which.
The volume up button is the one closer to the top of the phone. On the standard iPhone 15, it sits just below the small Ring/Silent switch. On the iPhone 15 Pro and Pro Max, it sits just below the Action Button. The layout is the same on every model in the range.
Hold your phone the way you normally would, with one hand wrapped around it. Your thumb naturally rests near the volume buttons on the left, and your index finger or middle finger rests near the side button on the right. That grip is your starting position for every screenshot.
Before you practise, open the screen you want to capture. A screenshot records exactly what is on the display at the moment you press the buttons. If a notification banner is showing, it will be in the picture, so swipe away anything private first.
It also helps to know that a screenshot is just a photo. It is saved in the Photos app, in a dedicated Screenshots album, and it behaves like any other image. You can share it, edit it, print it, or delete it whenever you like.
Method 1: Take a Screenshot With the Buttons
The button method is the fastest way to take a screenshot on iPhone 15, and it works on every model: iPhone 15, iPhone 15 Plus, iPhone 15 Pro, and iPhone 15 Pro Max. There is nothing to set up, nothing to turn on, and no menu to open. You press two buttons together, and the picture is taken.
The whole trick is timing. Press both buttons at the same time, and let go straight away. A quick press and release is all it takes. If you hold the buttons down, your phone thinks you want something else, and you will end up on the power-off screen instead.

Follow these steps to capture your screen with the buttons:
- Open the screen you want to capture, whether it is a web page, a message, a photo, or an app.
- Place your thumb on the volume up button on the left edge of the phone.
- Place your index finger on the side button on the right edge of the phone.
- Press both buttons at exactly the same time, then release them immediately.
- Look for a quick white flash and a small thumbnail in the bottom-left corner of the screen.
That flash is your confirmation. It tells you the screenshot was taken. The thumbnail that appears in the corner is your next step: tap it to edit the screenshot right away, or ignore it and let it slide away on its own.
If the thumbnail appears, your screenshot is already saved. You do not need to tap anything to keep it. Ignoring the thumbnail is a perfectly good way to take a screenshot, and it is the fastest way when you want to capture several things in a row.
Try it a few times on an unimportant screen, such as your Home Screen. The first few attempts may feel clumsy, especially if you are used to older phones with a Home button. After three or four tries, most people find the rhythm, and the press becomes automatic.
Getting the Timing Right
The most important detail of the button method is the release. Press and release in one quick motion, like clicking a mouse. The whole press should last less than a second. Think of it as a tap with two fingers rather than a squeeze.
If you press the side button a fraction before the volume up button, the screen may lock. If you press volume up a fraction before the side button, the volume may jump up. Neither of these is a problem, and neither means your phone is broken. It only means the two presses were not quite together.
When that happens, simply try again. Wake the screen, find your content, and press both buttons together once more. Many people find it helps to think of the two buttons as one single button that happens to have two parts.
One practical tip is to press with the pads of your fingers, not the tips. The pads give you a steadier, more even press, and they make it easier to hit both buttons at the same moment. A light, even press works better than a hard squeeze.
Another tip is to keep the phone steady while you press. If you squeeze the phone hard, you may tilt it or tap the screen by accident. Hold it firmly but gently, press the two buttons, and let go. The phone does the rest.
If you wear a thick case, the buttons may feel stiffer than they do without one. This is normal, and it does not change the method. Press a little more firmly through the case, and keep the press just as quick. If the case makes the buttons hard to feel, try practising with the case off once, so you learn where the buttons sit.
What Happens After You Press the Buttons
The moment you release the buttons, your iPhone 15 takes the picture. The screen flashes white for an instant, and you may hear a soft camera shutter sound if your phone is not on silent. That sound is the same one the Camera app makes, and it is simply your phone confirming the capture.
A small thumbnail then appears in the bottom-left corner of the screen. It shows a miniature version of the screenshot you just took. It stays there for a few seconds, giving you a chance to act on it, and then it slides away on its own.
While the thumbnail is visible, you can tap it to open the screenshot in the editing view. There you can crop it, draw on it, add text, or share it straight away. If you do not need to edit it, just leave it alone and carry on with whatever you were doing.
The screenshot is saved the moment it is taken, whether you tap the thumbnail or not. You never need to press a save button to keep a screenshot. The thumbnail is only a shortcut to editing, not a step you must complete.
If you take several screenshots quickly, each one produces its own thumbnail, and the thumbnails stack in the corner. You can work through them one at a time, or let them all slide away and find the pictures in the Photos app later.
One thing to remember is that the screenshot captures the whole screen, including the status bar at the top with the time, signal, and battery. If you want a cleaner image, you can crop the status bar away in the editing view, or crop the screenshot later in the Photos app.
Method 2: Take a Screenshot With Back Tap
Back Tap is a handy backup for days when pressing two buttons at once feels awkward. It lets you take a screenshot by tapping the back of your phone twice or three times. It is built into your iPhone 15, and it takes less than a minute to set up.
This method is useful if you often hold your phone with one hand, or if you take screenshots while your other hand is busy. It is also a good option if your case makes the side buttons hard to press, or if you simply find the double-tap easier to remember.
To set up Back Tap, open Settings, then go to Accessibility, then Touch, then Back Tap. Choose Double Tap or Triple Tap, whichever feels more natural to you, and then select Screenshot from the list of actions. That is the whole setup, and it stays on until you change it.
Once it is set up, tap the back of your phone twice, or three times if that is what you chose, and your phone will take a screenshot. Tap near the middle of the back of the phone, with a firm but gentle touch. You do not need to tap hard, and you do not need to tap on the Apple logo.
Back Tap works through most cases, although a very thick case can make it less reliable. If it does not respond the first time, try tapping a little more firmly, or a little closer to the centre of the phone. It also helps to tap with the pad of a finger rather than a fingernail.
The screenshot you take with Back Tap is identical to one taken with the buttons. The same white flash appears, the same thumbnail slides in from the corner, and the same file is saved in the Photos app. Only the trigger is different.
One warning is worth knowing: because Back Tap is always listening, it can sometimes fire by accident, for example when you set your phone down on a table. If you start finding screenshots you did not mean to take, switch from Double Tap to Triple Tap, which is much harder to trigger by accident.
Method 3: Take a Screenshot With AssistiveTouch
AssistiveTouch is a floating on-screen button that gives you a tap-based way to take a screenshot. It is designed as an accessibility feature, but anyone can use it, and it is the best option if pressing physical buttons is difficult for you.
To turn it on, open Settings, then go to Accessibility, then Touch, then AssistiveTouch, and switch AssistiveTouch on. A small round button will appear on your screen. You can drag it to any edge of the screen, and it stays out of the way until you need it.
To take a screenshot with AssistiveTouch, tap the floating button, then tap Device, then tap More, then tap Screenshot. Your phone will capture the screen immediately, with the same flash and thumbnail as the button method. The floating button itself does not appear in the screenshot.
That is a few taps, so it is slower than the buttons, but it has one advantage: you can customise it. In the AssistiveTouch settings, you can set a single tap, double tap, or long press on the floating button to take a screenshot directly. That turns a four-tap process into one tap.
To do that, go back to Settings, then Accessibility, then Touch, then AssistiveTouch, and look for the Custom Actions section. Choose Single-Tap, Double-Tap, or Long Press, and set it to Screenshot. From then on, that gesture on the floating button captures your screen at once.
AssistiveTouch also gives you quick access to other useful actions, such as locking the screen, changing the volume, and restarting the phone. It is worth exploring once it is on, because it puts many of the physical buttons into one on-screen menu.
If the floating button ever gets in the way of something on your screen, just drag it to another edge. It will remember its position, and it will stay there until you move it again. You can turn AssistiveTouch off at any time from the same settings page.
Using the Thumbnail: Edit, Share, or Delete in Seconds
The thumbnail in the bottom-left corner is the fastest route to doing something useful with your screenshot. Tapping it opens the editing view, where the screenshot fills the screen and a row of tools appears along the bottom.
The tools include a pen, a highlighter, a pencil, and an eraser, along with a colour picker so you can choose the ink. You can circle the important part of a form, underline a price, or draw an arrow to the button your friend needs to press. Your marks appear instantly, and you can undo any stroke you do not like.

At the top of the editing view you will find the crop tool. Drag the corners of the image to cut away the parts you do not need, such as the status bar or an empty margin. Cropping is the quickest way to make a screenshot look tidy, and it takes only a few seconds.
You can also add text to a screenshot from the same toolbar. This is handy when you want to label something for someone else, for example writing a price next to a product or a name next to a face. Tap the text tool, type your words, and drag the text box where you want it.
When you are finished editing, tap Done in the top-left corner. You will be offered a choice: Save to Photos, Save to Files, or Delete Screenshot. Save to Photos keeps the edited version in your library, and it replaces the original screenshot with the edited one.
If you only want to share the screenshot without saving the edits, tap the share button instead. This opens the share sheet, where you can send the picture by message, email, or any app you use. Sharing from the editing view sends the edited version, not the original.
If you took the screenshot by mistake, this is also the easiest place to get rid of it. Tap Done, choose Delete Screenshot, and it is gone at once. This saves you a trip to the Photos app later, and it keeps your library free of accidental captures.
For a longer page, such as a full article or a long receipt, look for the Full Page option at the top of the editing view when you are in Safari. Choosing it captures the entire page from top to bottom, not just the part on your screen. The result is saved as a PDF, which you can share or store in Files.
Where Your Screenshots Are Saved
Every screenshot you take goes to the Photos app. You do not need to choose a location, and you do not need to remember to save anything. The moment the flash appears, the picture is already in your library.
To find your screenshots, open the Photos app and tap Albums at the bottom of the screen. Scroll down to the Media Types section, and you will see an album called Screenshots. Every screenshot you have ever taken lives there, in order, newest first.
The Screenshots album is the quickest way to find a capture when you need it in a hurry. It keeps your screenshots separate from your camera photos, so you do not have to scroll through holiday pictures and family photos to find a receipt or a ticket.
Your screenshots also appear in the main Library view, mixed in with your other photos by date. This is useful if you remember roughly when you took a screenshot but not what it showed. You can scroll to that date and find it among your other pictures.
If you use iCloud Photos, your screenshots sync to your other Apple devices just like any other photo. That means a screenshot taken on your iPhone 15 can appear on your iPad or your Mac, ready to use there. It also means a screenshot counts toward your iCloud storage, like any other image.
When your Screenshots album starts to fill up, it is worth clearing it out now and then. Old screenshots of things you no longer need, such as expired tickets and one-time codes, take up space for no reason. Open the album, select the ones you do not need, and delete them in one go.
Tips for Better Screenshots
A good screenshot is one that shows exactly what the other person needs, and nothing else. A little care before you press the buttons makes a big difference to how useful the picture is when you share it.
First, clean up the screen before you capture it. Close any notification banners, dismiss any pop-ups, and hide the keyboard if it is covering the thing you want to show. A screenshot with a keyboard across the middle of it is rarely helpful to anyone.
Second, think about brightness. If your screen is very dim, the screenshot will be dim too, and small text may be hard to read. Turn the brightness up a little before you capture anything with fine print, such as a confirmation number or an address.
Third, capture at the right moment. If you are screenshotting a video, pause it on the frame you want first. If you are capturing a message, scroll so the whole message is visible. A screenshot is a frozen moment, so make sure the moment is the right one.
Fourth, use the editing tools to point at what matters. A simple circle or arrow takes two seconds to draw, and it saves the person looking at your screenshot from hunting through the whole image. This is especially useful when you are helping someone with a setting or a form.
Fifth, keep your screenshots organised. If you take screenshots of receipts, tickets, or reference numbers regularly, consider saving the important ones to a dedicated album or to Files. That way you can find them in seconds, even months later.
Finally, remember that a screenshot is a picture of your screen, not a copy of the thing on it. A screenshot of a ticket may not scan at a gate, and a screenshot of a web page will not update if the page changes. When the original matters, share a link or the original file as well.
Troubleshooting: When the Screenshot Does Not Work
Almost every screenshot problem on iPhone 15 has a simple cause, and most are fixed in seconds. Work through the checks below in order, starting with the most likely one.
The first thing to check is your timing. If you hold the buttons down instead of pressing and releasing quickly, your phone will show the power-off screen. This is the most common screenshot mistake, and it is also the easiest to fix. Press both buttons together, and let go at once.
The second check is which buttons you pressed. Volume down instead of volume up is a frequent slip, especially when you are holding the phone in your left hand. Make sure your thumb is on the upper volume button, the one nearer the top of the phone.
The third check is your case. A stiff or misaligned case can make one button harder to press than the other, so the two presses land at different times. Try taking a screenshot with the case removed. If it works without the case, the case is the problem, and a better-fitting one will fix it.
The fourth check is your storage. If your iPhone is completely out of storage space, it may not be able to save a new screenshot. Open Settings, then General, then iPhone Storage, and see how much space is free. Deleting a few old videos or unused apps usually frees enough room.
The fifth check is whether the app you are using allows screenshots at all. Some banking apps, streaming apps, and apps that show sensitive content block screenshots for security, and they show a black screen instead. This is the app’s choice, not a fault in your phone, and there is no setting that changes it.
If none of these checks help, restart your phone. A simple restart clears many small glitches, including ones that affect screenshots. If you need a reminder of how to do that safely, our guide to force restarting your iPhone 15 walks through the steps in order.
After a restart, try the button method again on your Home Screen. If it still does not work, try Back Tap or AssistiveTouch. If those work but the buttons do not, one of the physical buttons may be faulty, and it is worth having the phone checked.
More iPhone 15 Guides on AAFunky
Screenshots are only one of the everyday skills that make your iPhone 15 easier to live with. Once the button press feels natural, you may want to learn the other shortcuts that save time every day.
If you want to compare methods side by side, our earlier guide on how to screenshot on iPhone 15 covers the same ground from a different angle, including full-page captures and editing in more detail.
Many of the screenshots you take will be photos, so it is worth knowing how to get the best out of the camera itself. Our tips on how to make your iPhone 15 camera better will help you take sharper, brighter photos that are worth screenshotting and sharing.
And if you ever press the side button for a fraction too long and your screen goes dark, do not worry. Our quick guide on how to turn off your iPhone 15 screen explains what the side button does and how to wake your phone again in a moment.
Learning these small skills together is what turns a new phone into a familiar one. Each one takes a few minutes to learn, and each one saves you a little time every day after that.
Frequently Asked Questions
Where do screenshots go on iPhone 15?
Screenshots are saved in the Photos app. Open Photos, tap Albums, and look for the Screenshots album under Media Types. Every screenshot you take is stored there automatically, newest first, and it also appears in your main Library by date.
You do not need to save a screenshot yourself. It is stored the moment you press the buttons, even if you ignore the thumbnail. If you use iCloud Photos, it will also sync to your other Apple devices.
Why did my screen lock instead of taking a screenshot?
Your screen locked because the side button was pressed slightly before the volume up button, or because you held the side button down for too long. The phone read the press as a lock command rather than part of a screenshot.
Try again with a quicker, more even press. Press both buttons at exactly the same time, and release them immediately. With a little practice, the two presses will land together every time.
Why did the volume go up instead of taking a screenshot?
The volume went up because the volume up button was pressed slightly before the side button. The phone read the first press on its own, before the second button joined it.
The fix is the same as for a locked screen: press both buttons together, in one quick motion, and release at once. If it keeps happening, try pressing with the pads of your fingers, which makes an even press easier.
How do I take a screenshot without the buttons?
You can use Back Tap or AssistiveTouch. For Back Tap, go to Settings, then Accessibility, then Touch, then Back Tap, and set Double Tap or Triple Tap to Screenshot. Then tap the back of your phone to capture the screen.
For AssistiveTouch, go to Settings, then Accessibility, then Touch, then AssistiveTouch, and switch it on. Tap the floating button, then Device, then More, then Screenshot. You can also set a single tap on the floating button to take a screenshot directly.
How do I take a full page screenshot on iPhone 15?
Take a normal screenshot in Safari, then tap the thumbnail in the bottom-left corner. At the top of the editing view, choose Full Page instead of Screen. This captures the whole page from top to bottom, and the result is saved as a PDF.
Full Page works in Safari and in some other apps that show long documents. If you do not see the option, the app you are using may not support it, and a normal screenshot is the best you can do there.
Can I edit a screenshot after taking it?
Yes. Tap the thumbnail that appears in the bottom-left corner right after you take the screenshot. You can crop it, draw on it with a pen or highlighter, add text, or add your signature, and then tap Done to save the edited version.
You can also edit a screenshot later. Open it in the Photos app, tap Edit, and use the same tools. The Photos app keeps your original as well, so you can undo your edits if you change your mind.
Why is my screenshot black in some apps?
Some apps block screenshots when they show sensitive content, such as banking details, private messages, or protected video. When you take a screenshot in one of these apps, the picture comes out black or blank.
This is a security feature of the app, not a fault in your phone. There is no setting on your iPhone 15 that overrides it. If you need to keep the information, look for a share or export option inside the app itself.
Conclusion
Taking a screenshot on iPhone 15 is a small skill, but it is one you will use almost every day. The button method is the heart of it: side button and volume up together, pressed quickly and released at once. Learn that rhythm, and the rest follows easily.
Remember what the flash and the thumbnail mean. The flash tells you the picture was taken. The thumbnail is your invitation to edit, share, or delete it straight away. And if you ignore the thumbnail, the screenshot is still safe in your Photos app, waiting in the Screenshots album.
Set up one backup method as well, whether that is Back Tap or AssistiveTouch. You may not need it often, but on the day the buttons are awkward to reach, you will be glad it is there. A good backup turns a small frustration into a non-event.
Practise on your Home Screen a few times today. Press both buttons together, watch for the flash, and let the thumbnail slide away. After a handful of tries, you will not need to think about it at all. That is the point: a screenshot should be the fastest thing you do on your phone, not something you have to stop and work out.